Maintained by the community member MFW78.
What is this?
Blockchain sits at the fore-front of novel, technological development, with most software being written by specialists, with little attention given to the end user experience — out-of-date documentation (when the documentation actually exists!) and how-tos attempting to guide people through being able to actually use the software.
This issue is particularly acute for software at the bleeding edge, that software which is working towards realising the vision of the world computer.
NOTE: This blog post is geared towards running a bee full node. If you are wanting ONLY TO ACCESS / UPLOAD unstoppable content from/to Swarm, checkout Swarm Desktop.
What is the world computer?
The “world computer” refers to a distributed, decentralised computer capable of:
- Logic (standalone equivalent: Processor)
- Storage (standalone equivalent: SSD / HDD)
- Messaging (standalone equivalent: Modem, WiFi etc)
With the recent completion of The Merge, Ethereum’s Execution Layer provides the “processor” for this world computer vision. Two other projects are working on the storage and messaging, notably Swarm and Waku. This how-to focuses on the former, and will demonstrate how to go from zero to hero with Swarm.
But wait, you said this software is difficult to use?
Enter, Dappnode, a specialised operating system that provides a simple, intuitive interface through which users may readily configure blockchain software with a few simple clicks. Depending on your use case, you can:
- Setup Dappnode on your own hardware, such as an old laptop or desktop, or even a Raspberry Pi (required RPi 4, 8GB RAM); or
- Purchase purpose built hardware with Dappnode pre-installed.
Before continuing, please use the above links to setup and configure Dappnode.
Let’s get started
🚨ATTENTION: FROM THIS POINT FORWARD, ALL LINKS ASSUME THAT YOU HAVE CONNECTED TO YOUR DAPPNODE VIA WIFI OR VPN.🚨
Gnosis Chain ⛓️
Swarm uses Gnosis Chain, formerly known as xDai, one of the first side-chains to Etheruem mainnet for managing its incentives. This is what distinguishes Swarm from the likes of IPFS, or Bittorrent — painstaking research has gone in to making sure that all parties in the swarm are aligned.bee, the Swarm client, requires a connection to Gnosis Chain. You can:
- Recommended: Install Nethermind (direct Dappnode install link); or
- Use an external RPC (CAUTION: during upgrades of
bee, or periods of heavy use,beemay easily consume all free RPC requests. If the RPC fails,beewill fail. For this reason, it’s strongly advised to run your own node - bonus in that it contributes to decentralisation ❤️🌐).
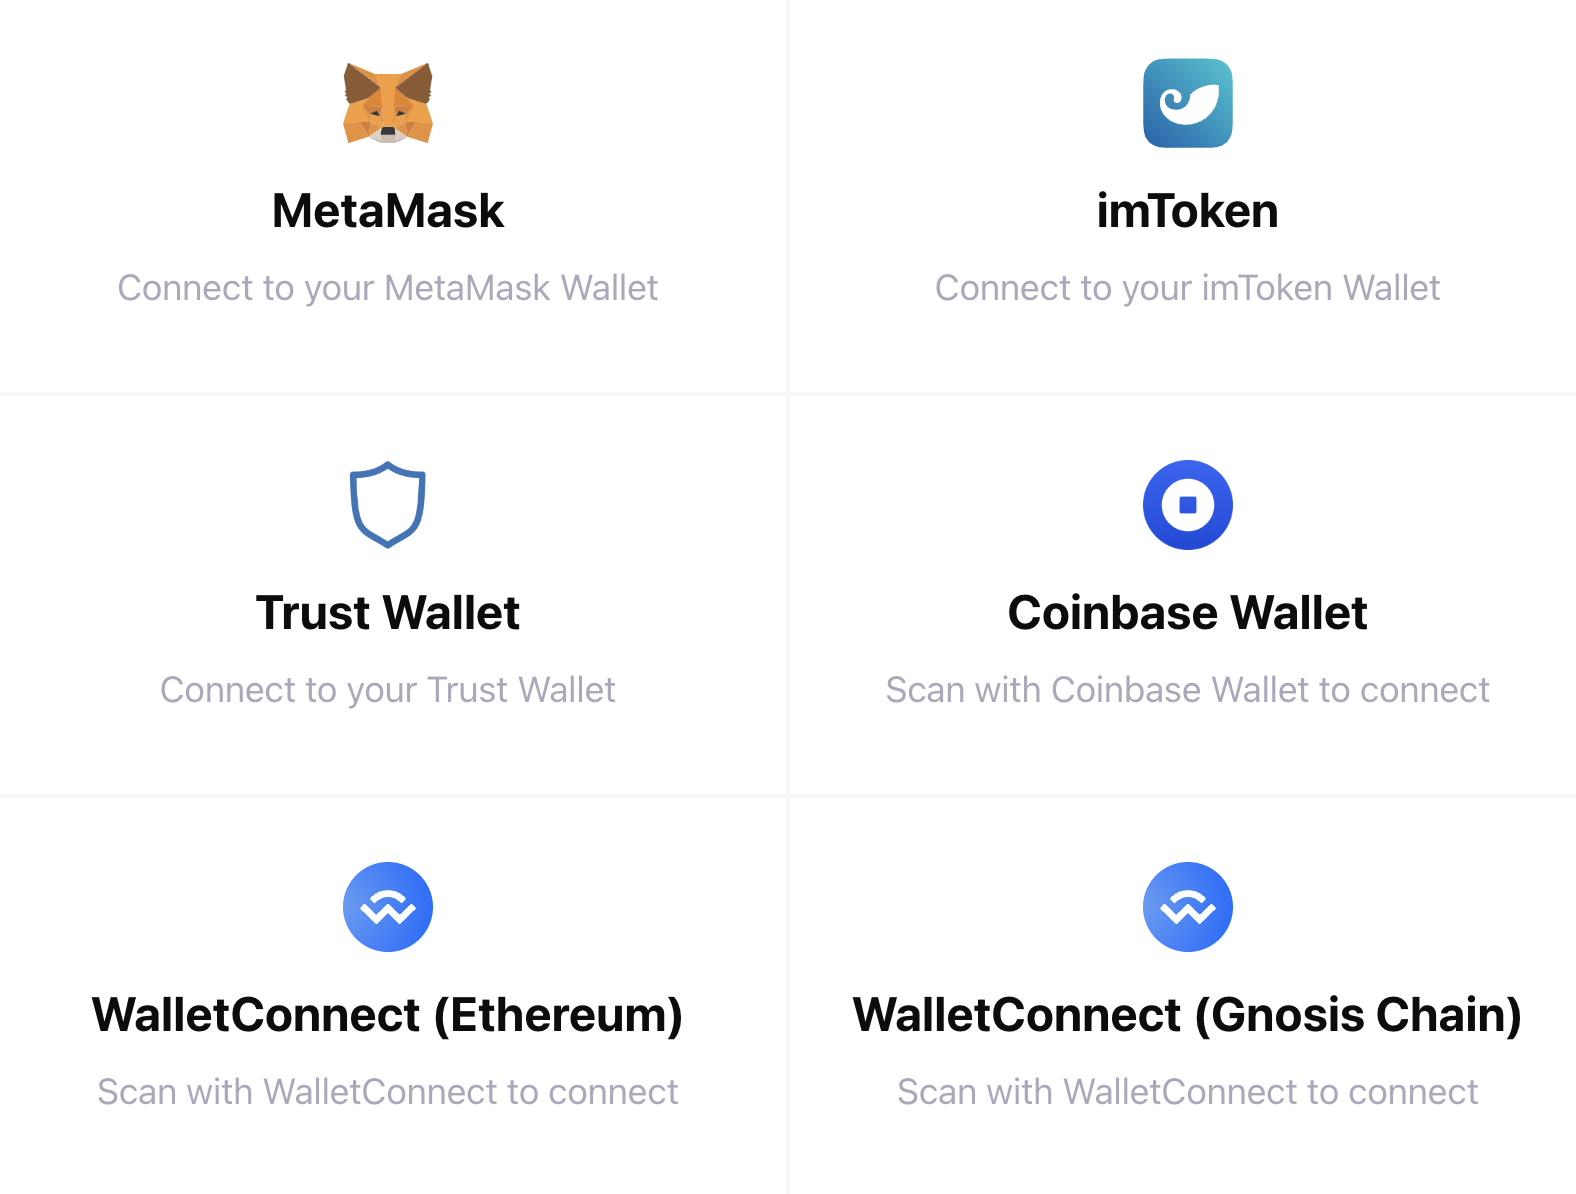
Completing these steps will allow bee to communicate with Gnosis Chain, but you will still need to directly interact with it as well (for tasks such as funding your node, covered later). You can add Gnosis Chain to Metamask.
Swarm (bee) 🐝
Swarm is the technology (much as Ethereum is a technology, but one can use different clients to connect to an Ethereum-compatible network), and bee is the client software that one uses to connect to the Swarm.
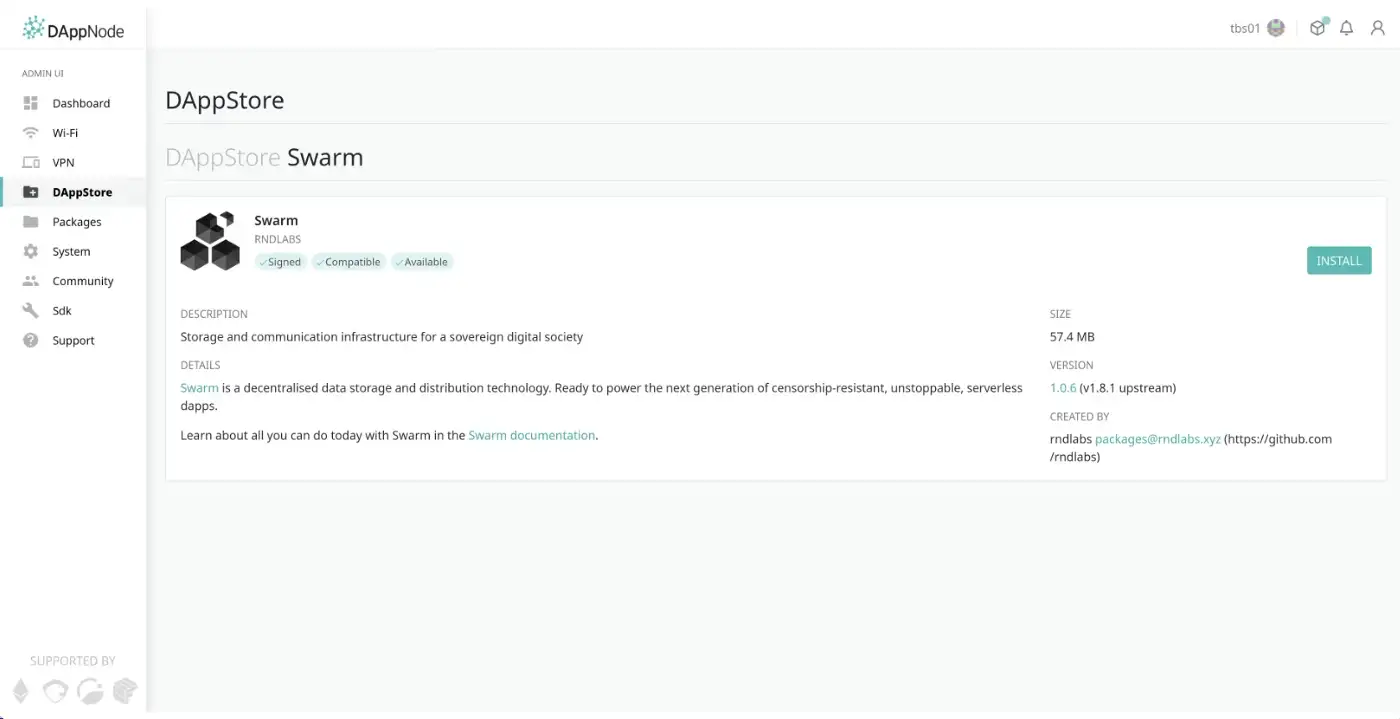
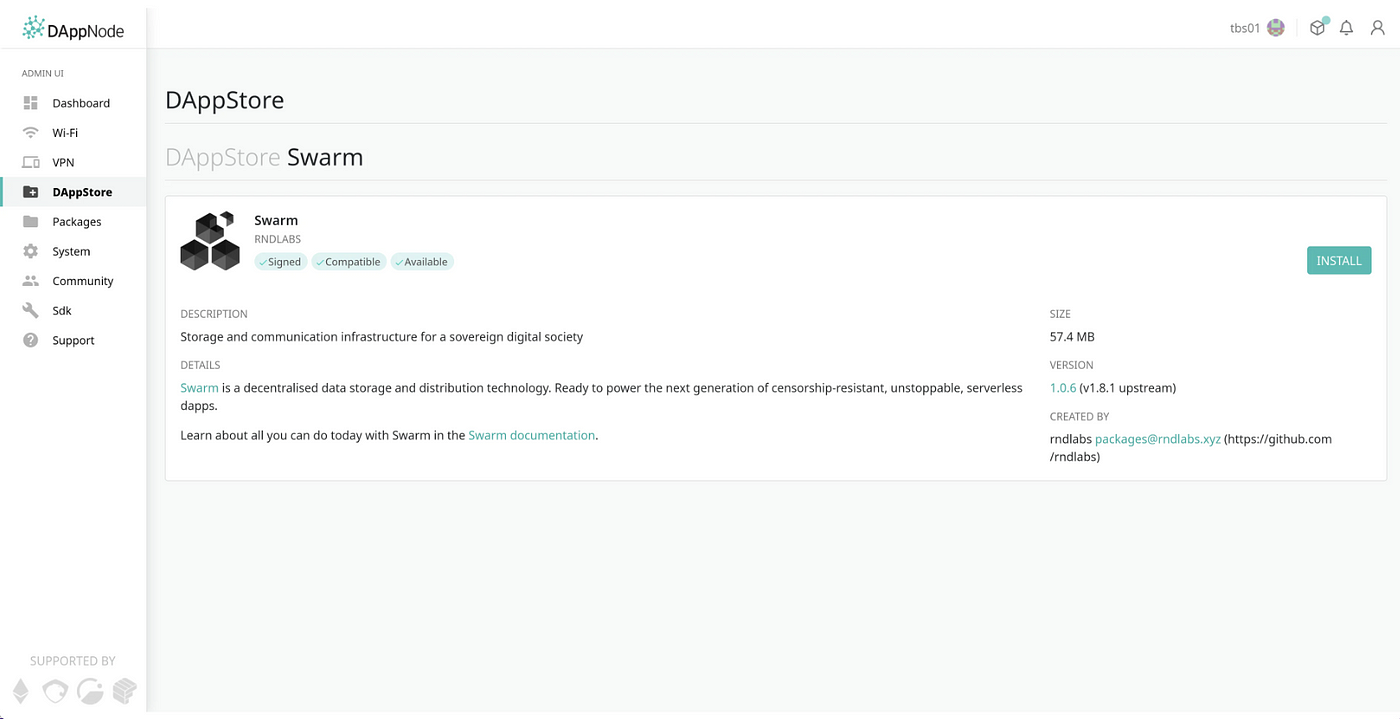
- Step 1: Browse to the package installer — Install Swarm (direct Dappnode install link). Click ‘Install’ to continue.
Step 2: Setup optional parameters:
- Swap RPC Endpoint (Gnosis Chain) — if you installed Nethermind and are running your own node, you can leave the default settings. Otherwise, if you use an external RPC endpoint, this is where you should set it.
- ENS resolver RPC (Ethereum Mainnet) — As
beecan resolve ENS (a special type of blockchain name), it requires an Ethereum mainnet RPC endpoint. Install links are available for a variety of clients, or you can use an Infura RPC endpoint, or alternatively leave it blank to disable the ENS resolver. - Initial chequebook deposit (xBZZ) — is the amount of xBZZ the
beenode must have deposited to it’s address in order to deploy the chequebook (which is used to issue “cheques” when the node exchanges bandwidth). You MAY set this to0, or you can alternatively purchase xBZZ (referred to as BZZ) on Cowswap 🐮or Honeyswap 🍯. Without any xBZZ, you will still be able to access the network at reduced rate, but will not be able to use full speed, or upload content. - Welcome message — some graffiti that you can admire at Swarm Scan or if you happen to be peering through the logs 👀
- Full node mode — must be set to
trueorfalse. This determines whether or notbeewill store data for the network. To bee a good citizen and share the love, leave this set totrue. This will nominally consume up to 60GB of disk space. - Storage data mountpoint — for advanced users; recommended to leave at default.
") Optional parameters (Screenshot 1/2)
Optional parameters (Screenshot 1/2)
") Optional parameters (Screenshot 2/2)
Optional parameters (Screenshot 2/2)
- Step 3: Agree to the disclaimer. Because this package is published by an entity other than Dappnode, you are required to explicitly agree to the ‘Unverified Package disclaimer’.
 Agree to the ‘Unverified Package Disclaimer’
- Step 4: Follow the ‘Getting started’ in order to have the
beenode fully operational.
 Follow the ‘Getting started’
Step 5: Fund your node so that it may participate in the active storage and forwarding of data within the Swarm. Get your node’s Gnosis Chain address (referred to in the logs as ‘using ethereum address’.
- Send to the node’s address on Gnosis Chain:
- Approximately 0.1
xDAIwhich will be used by the node to pay for gas fees when deploying the chequebook and cashing any subsequent cheques received (or for initiating stamp purchases etc). - The amount of
xBZZspecified in the ‘Initial Chequebook Deposit’ configuration option from Step 2.
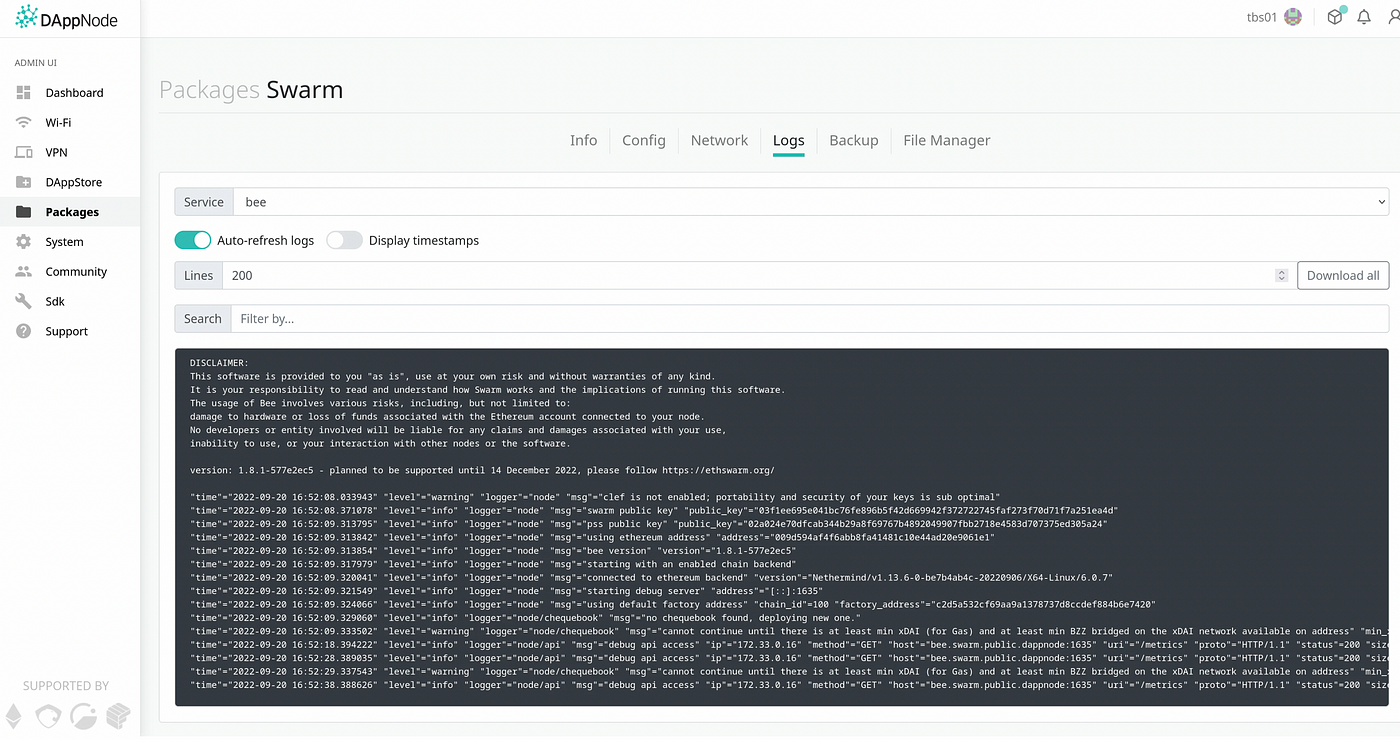 Logs that contain the node’s Gnosis Chain address (referred to as ‘ethereum address’).
- Step 6: Confirm the node is operational. You can do this by using the packaged Bee Dashboard (direct link) or you can access this through the “UI” link on the Swarm package ‘Info’ page.
- If your node is working correctly, you should see something similar to the below screenshot:
 Fully functional swarm dashboard.
Enjoy unstoppable content 🎉
Congratulations, you have successfully setup a bee client to use the Swarm on Dappnode. By running a full-node, you have the most optimal setup, reducing reliance on intermediaries, and at the same time, contributing to the decentralisation of data, and gradual elimination of those pesky data silos. Bella ciao!
Swarm testnet (for developers) 🔧
WARNING: The following instructions contain details for configuring the Swarm testnet, which is designed as a no-jeopardy, zero-cost testnet for developers to test app deployments. There are NO financial incentives for participating in the testnet.
So, you’re a developer and you want to develop the latest and greatest Dapp. Your idea is so great, you are determined to make it unstoppable, so even your mistakes will be out there for a long time! It’s best that you test first on the Swarm testnet prior to unleashing your creation on world. 🚀
Testnet Installation
The process for installing the Swarm testnet is predominately the same as the Swarm mainnet, except the package names are obviously different:
- Install Swarm Testnet (direct link).
Testnet differences
The following is a list of the differences for the Swarm Testnet dappnode package:
- Blockchain: The Swarm testnet operates on the Goerli blockchain. Follow the ‘Getting Started’ directions for funding testnet nodes.
- NOTE: Goerli (execution layer) has merged with the Prater beacon chain (consensus layer). Therefore to run a local Goerli node, you will also need to run a Prater beacon chain node.
- ENS: The
BEE_RESOLVER_OPTIONShas been configured for the ENS deployment on Goerli (to keep in the spirit of ‘zero-cost’ testing). Therefore any ENS names that are registered on mainnet will not resolve on the testnet. - Ports: The ‘standard’ ports for the
beeclient software are offset by 100, ie: BEE_API_ADDR: :1733BEE_DEBUG_API_ADDR: :1735
Level up your Swarm wizardry 🧙♂️
Dappnode is actually a relatively powerful system, that enables fast iteration of development in complex, multi-component environments. In the recent Wikipedia on Swarm bounty challenge, a single Dappnode was utilised to push the entire English Wikipedia to Swarm — in just 2 days using an Intel NUC i7, with 32 GB DDR4 RAM and 4TB NVME SSD.
Now, as those familiar with bee would know, it may take a long time to upload data, so to speed this up, a custom Swarm package was uploaded to a local Dappnode - with the bee node software modified to increase the concurrency.
To deploy a custom swarm package to your Dappnode:
- Fork the dappnodepackage-swarm repository. In particular the boulder-pusher branch.
- Ensure that you have an appropriate build environment, including:
npm,npx, build-essentials to your distribution,dockeranddocker-compose. - Connect to your Dappnode using WiFi or VPN.
- In the cloned repository on the
boulder-pusherbranch:
- Modify the package name in
dappnode_package.jsonotherwise installation of this package on your Dappnode may override your existing production version. - WARNING: If you do not rename the package, and instead choose to override a production version of
swarm.public.dappnode.ethorswarm-testnet.public.dappnode.eth, and you subsequently have auto-updates enabled, this may result in your custom package being overridden when new versions of the production packages are pushed. - Modify the
beeDockerfileas required to point to your dirtybeerepository.
5. Run npx @dappnode/dappnodesdk build --timeout 2h. This will build docker containers and upload the package to the local IPFS node on your Dappnode. Note that the 2 hour timeout can be omitted if you only compile for amd64 architecture (which requires modification of dappnode_package.json to remove arm64 compilation targets.
6. Enjoy the custom version of bee 🐝.
WARNING: If you choose to use the custom version of bee referenced in boulder-pusher, this WILL consume more resources in terms of computing AND it will issue more cheques / consume more financial resources. At the moment the price oracle on Swarm is held at an artificially low level. Uploading the entire English Wikipedia required ~6 xBZZ, of which 5 xBZZ was used for a stamp, and approximately 0.5 xBZZ was used in cheque payments.
Show your love ❤️ Support Swarm Community Members!
Not only was the Swarm Dappnode package created by MFW78, he also wrote this article ( https://mirror.xyz/mfw.rndlabs.eth/0xImoscth-vf31BzcCnpTBBps9uh1Xrs65XgrwxJDog ). Thank you for supporting Swarm!
Contributors (Pull Requests / Issues) 🔧
One of the best, and free (monetarily) ways to show your love for the Swarm is to contribute to it! Please file issues and/or feature requests on the dappnodepackage-swarm Github repository (or alternatively if your issue is specific to the Swarm Testnet package, you can find it’s repository here).
Donations 💰 Support MFW78
Alternatively, if you’re feeling generous and you’re a fan of the work that I do, any support you can give is appreciated. You can donate to my 0xe618050f1adb1f6bb7d03a3484346ac42f3e71ee address on Gnosis Chain or Ethereum mainnet. All donations are appreciated and will be used to support further development in this area. 🫶
Discussions about Swarm can be found on Reddit.
All tech support and other channels have moved to Discord!
Please feel free to reach out via info@ethswarm.org
Join the newsletter! .