Installation
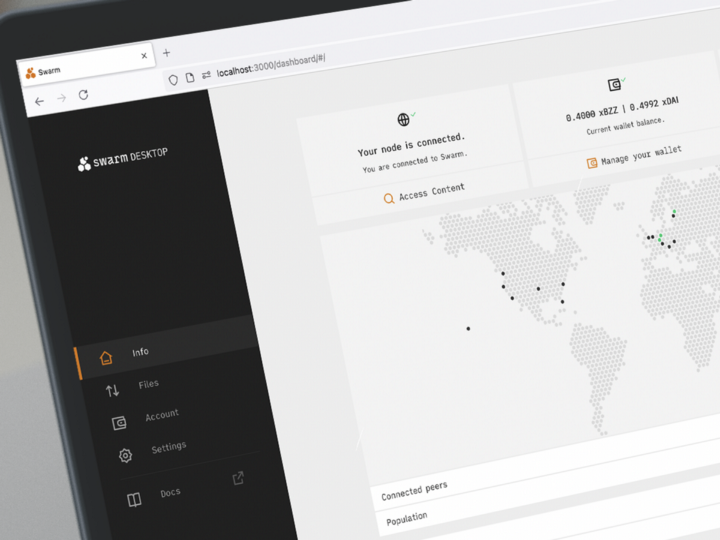
Go to the official Swarm Desktop webpage and download the installer. Run it and wait for the process to finish. Everything should be automatic and the node should set up by itself. A successful installation is indicated by the green status icon in the bottom left-hand side corner.
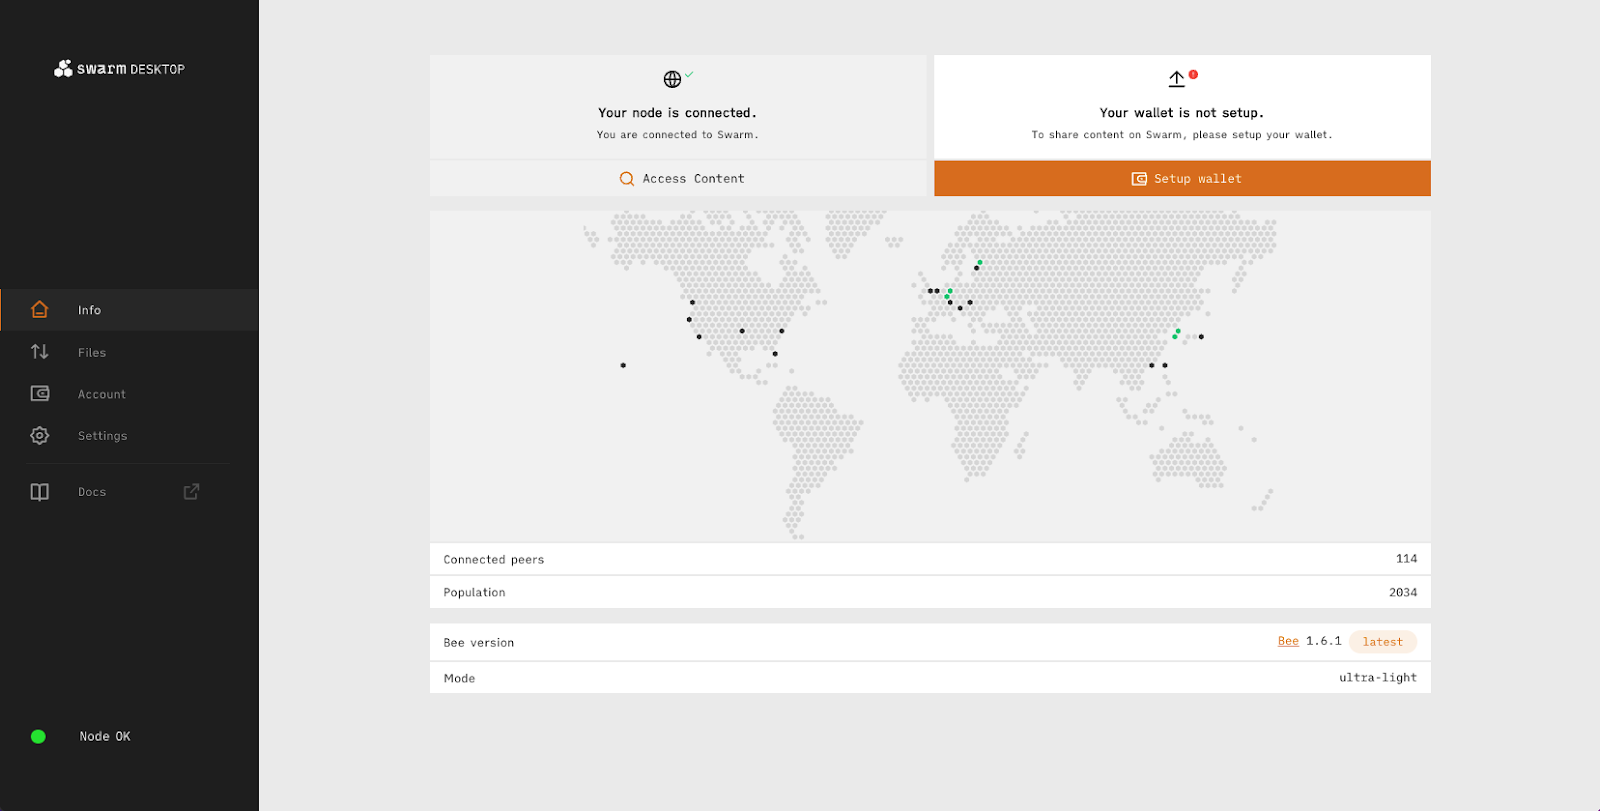
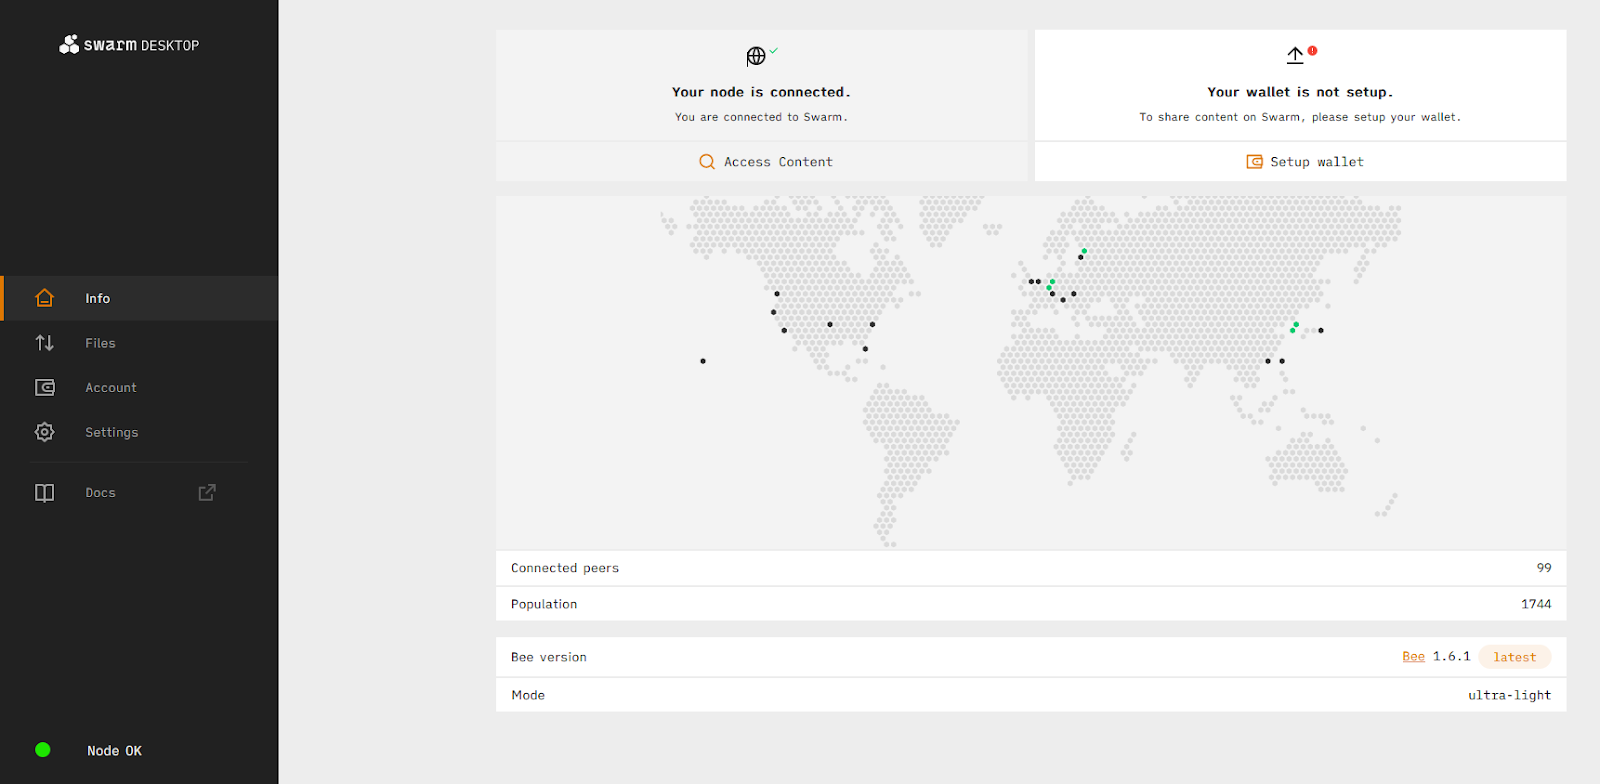
After a successful installation your Swarm network node will run in ultra light mode by default. With it, you can access content stored on the network and download data from it.
To upload data to the network you will need to upgrade your Bee node to light mode. To do that you will first need to set an RPC endpoint for the Gnosis blockchain network and then add funds to your node’s wallet.
Note: All the steps described below are only relevant if you want to upgrade to the light mode.
Creating an RPC endpoint
You can use different providers to create your RCP endpoint; this example uses Getblock.
- Go to https://getblock.io and create a free account
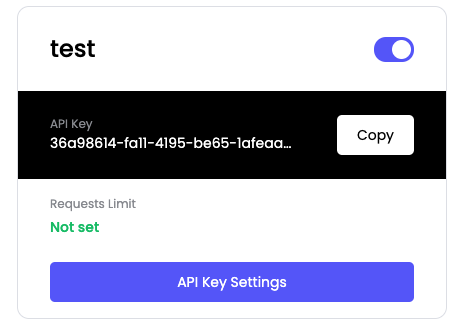
- Choose the + Create new API key option and name your API key.
- When the API key is created click API Key Settings
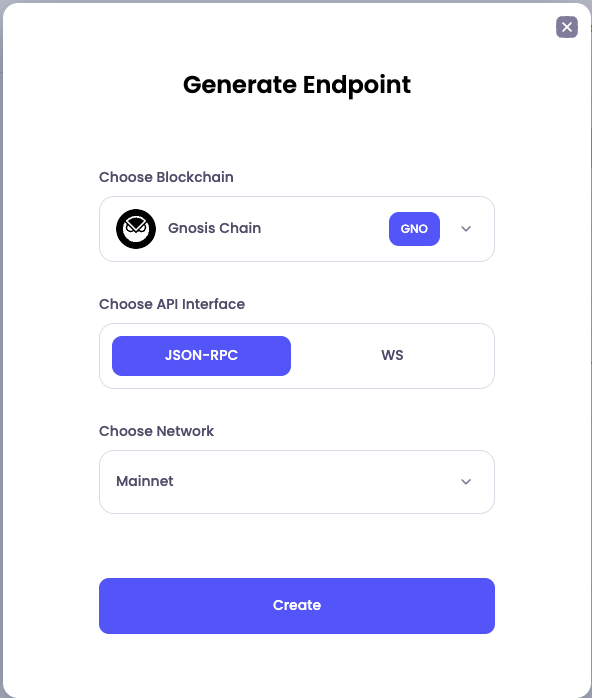
- Press Generate Endpoint
- Choose: Blockchain Gnosis Chain
- API Interface JSON-RPC
- Network: Mainnet
- Press Create
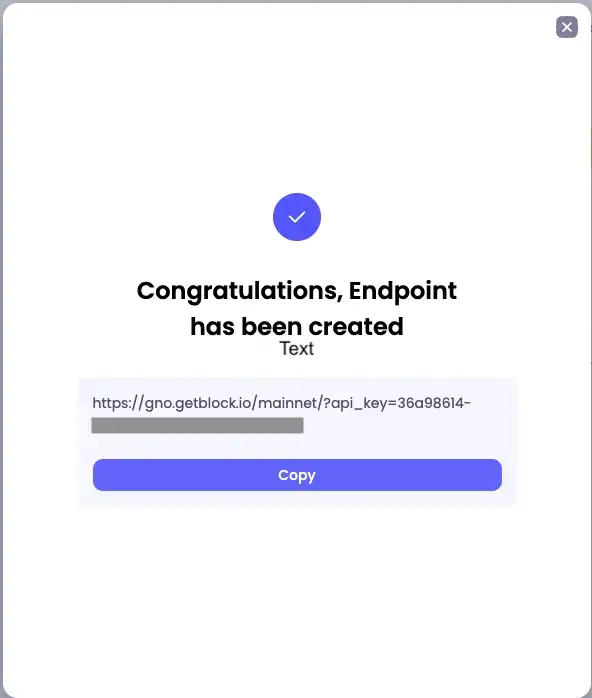
- An RPC URL will be generated and it should look similar to the one in the picture below. Copy the RPC URL and go back to the Swarm Desktop app
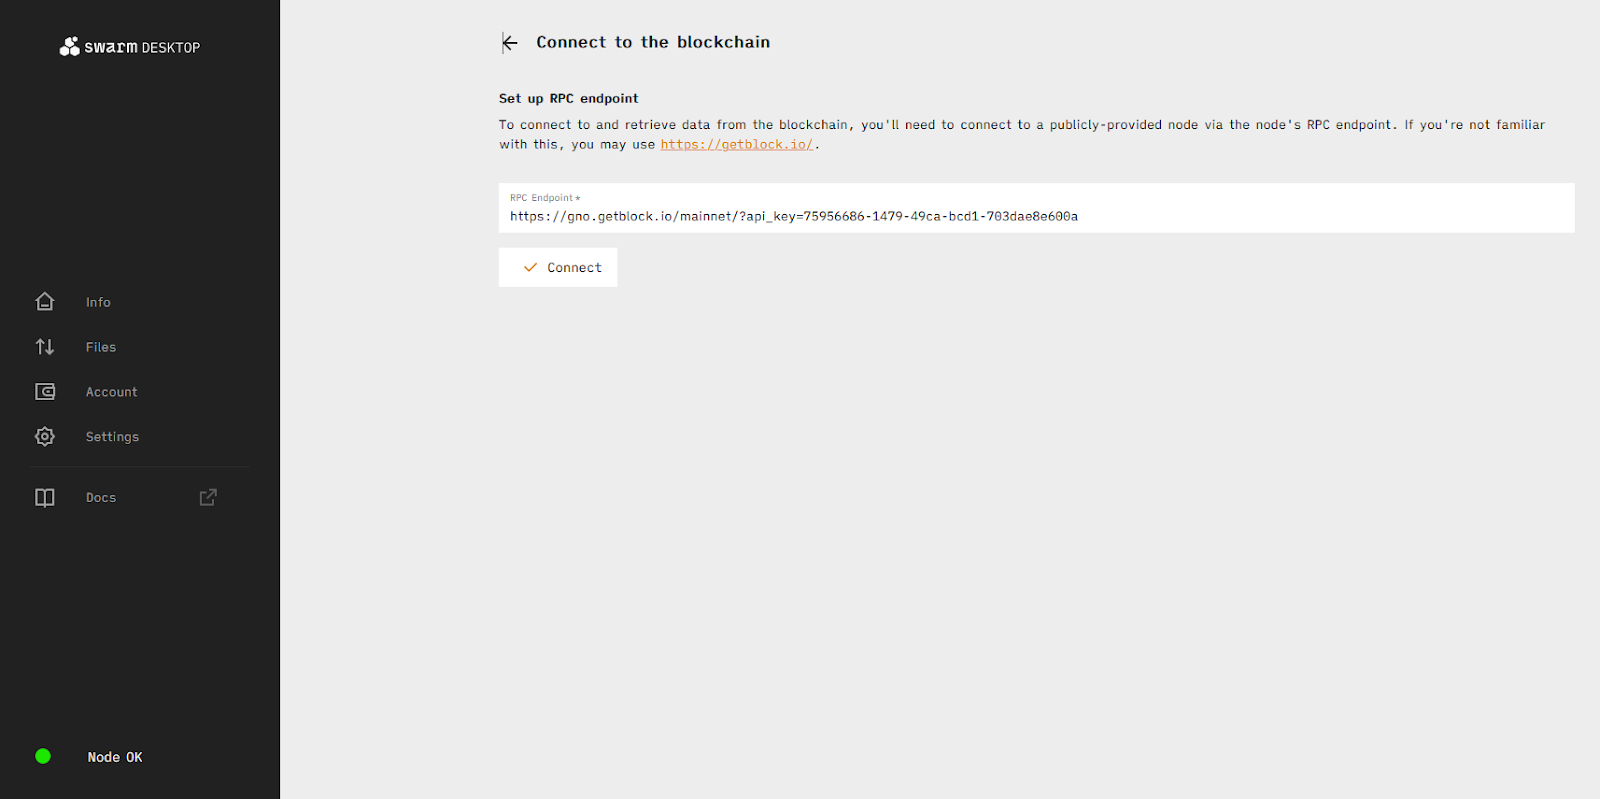
Setting the RPC endpoint in the Swarm Desktop app
Select the Info tab on the left-hand side and click “Setup wallet”.
Paste the RPC URL you have created on Getblock. If you have created an RPC endpoint on the Gnosis chain before this procedure, you can use that one. Click the “Connect” button.
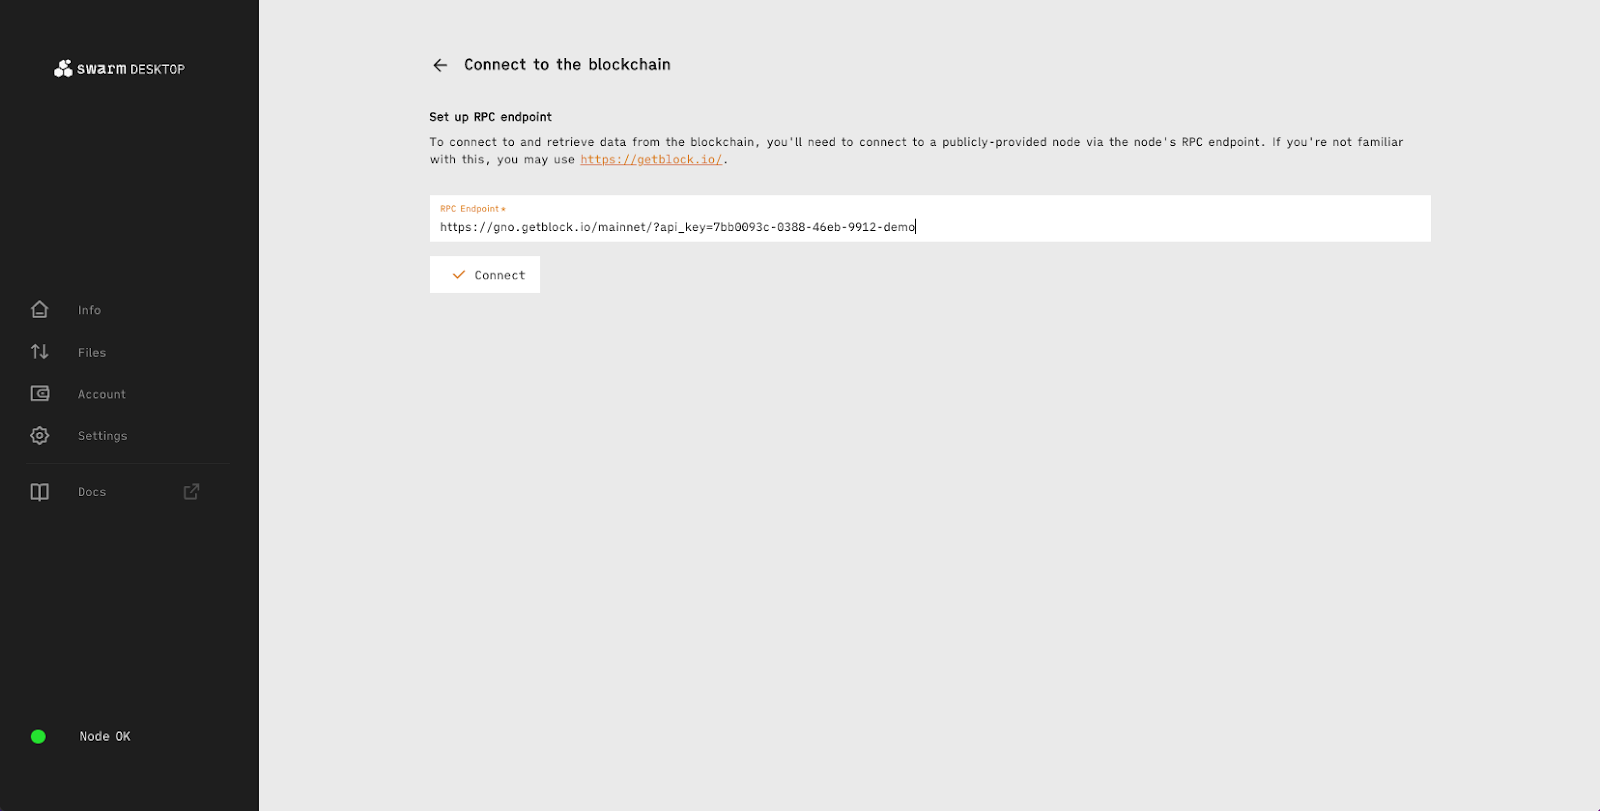
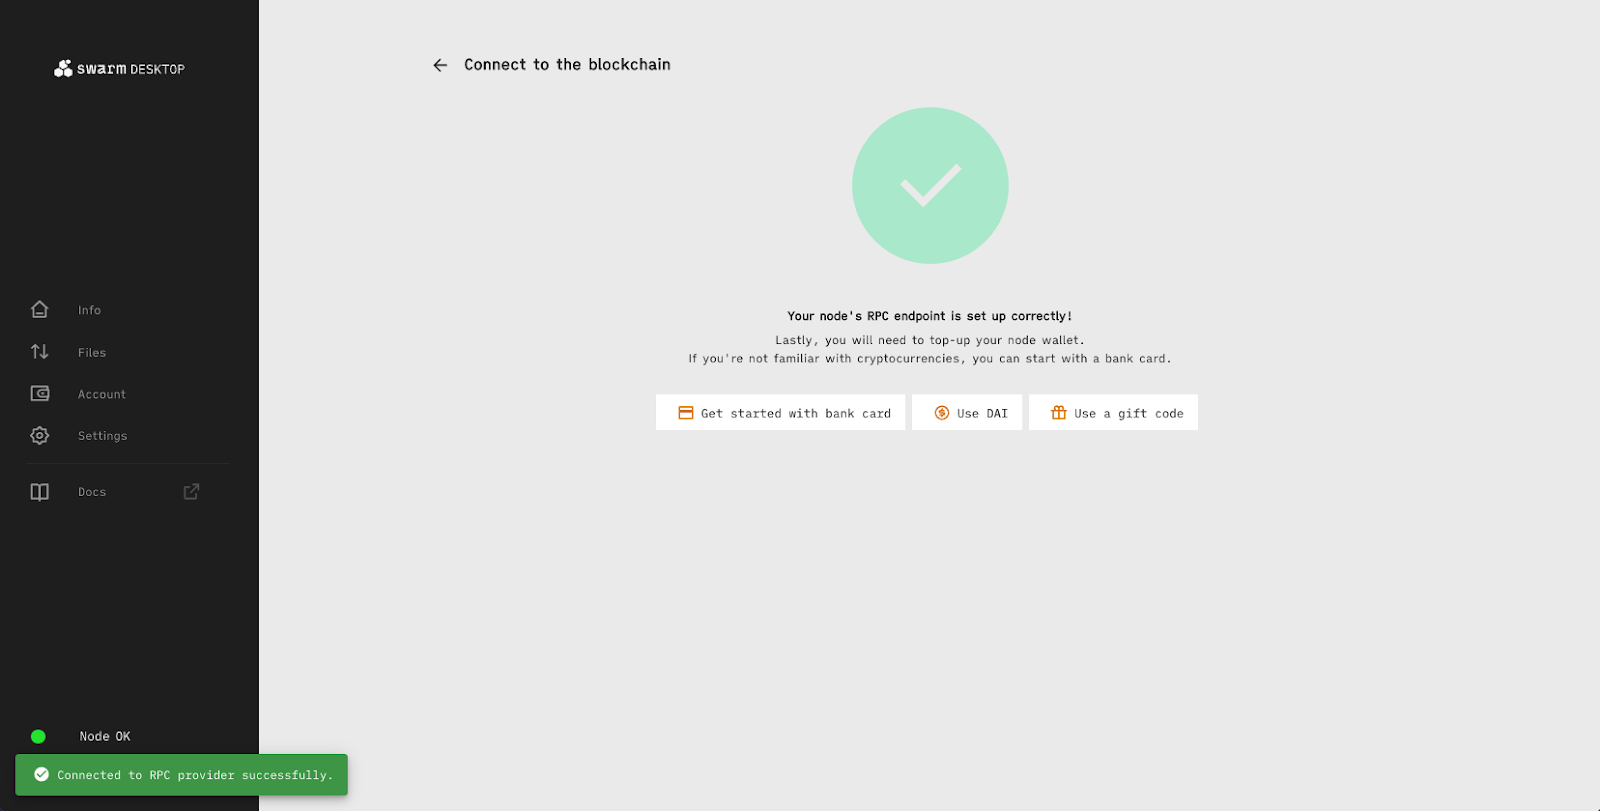
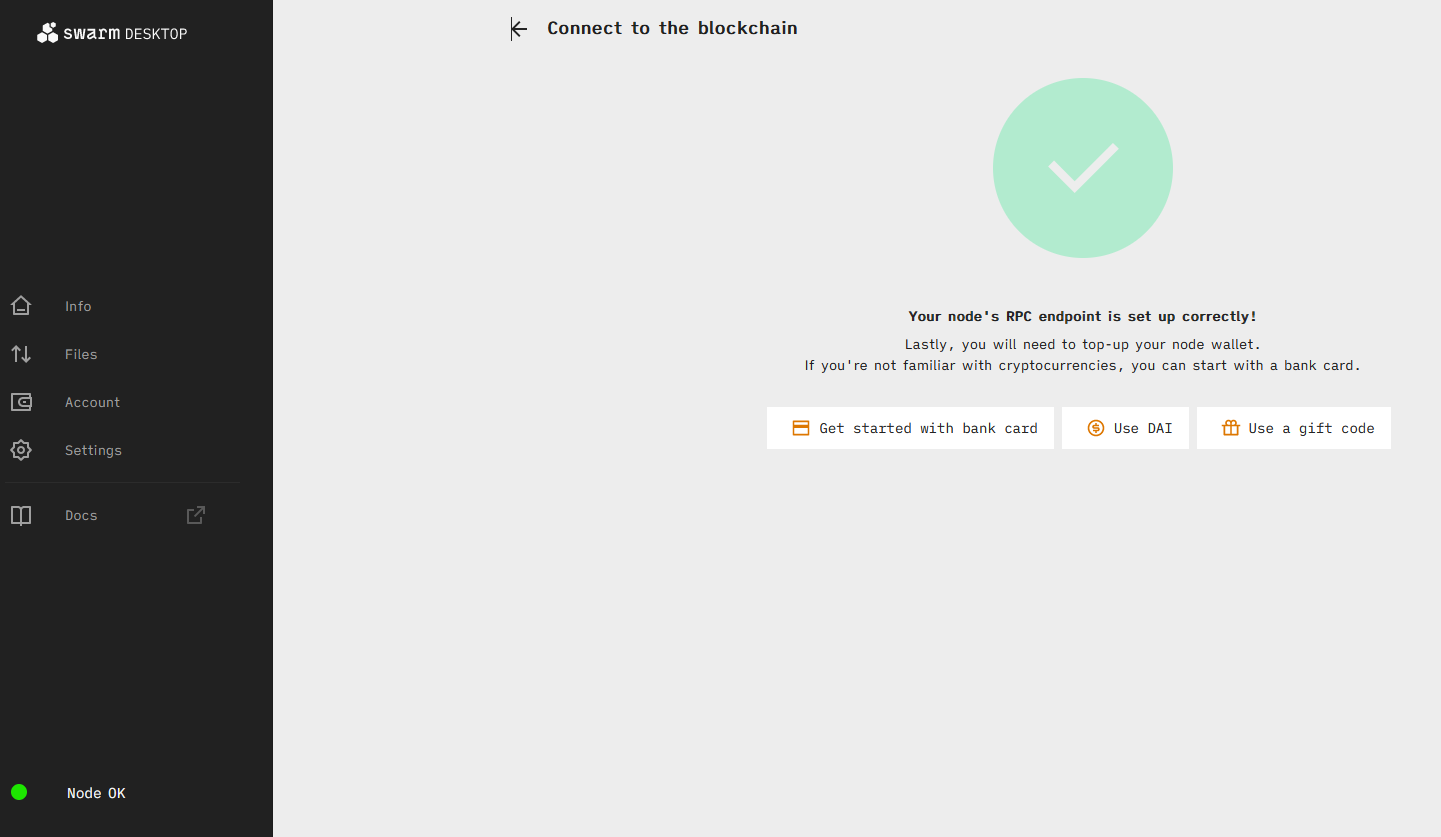
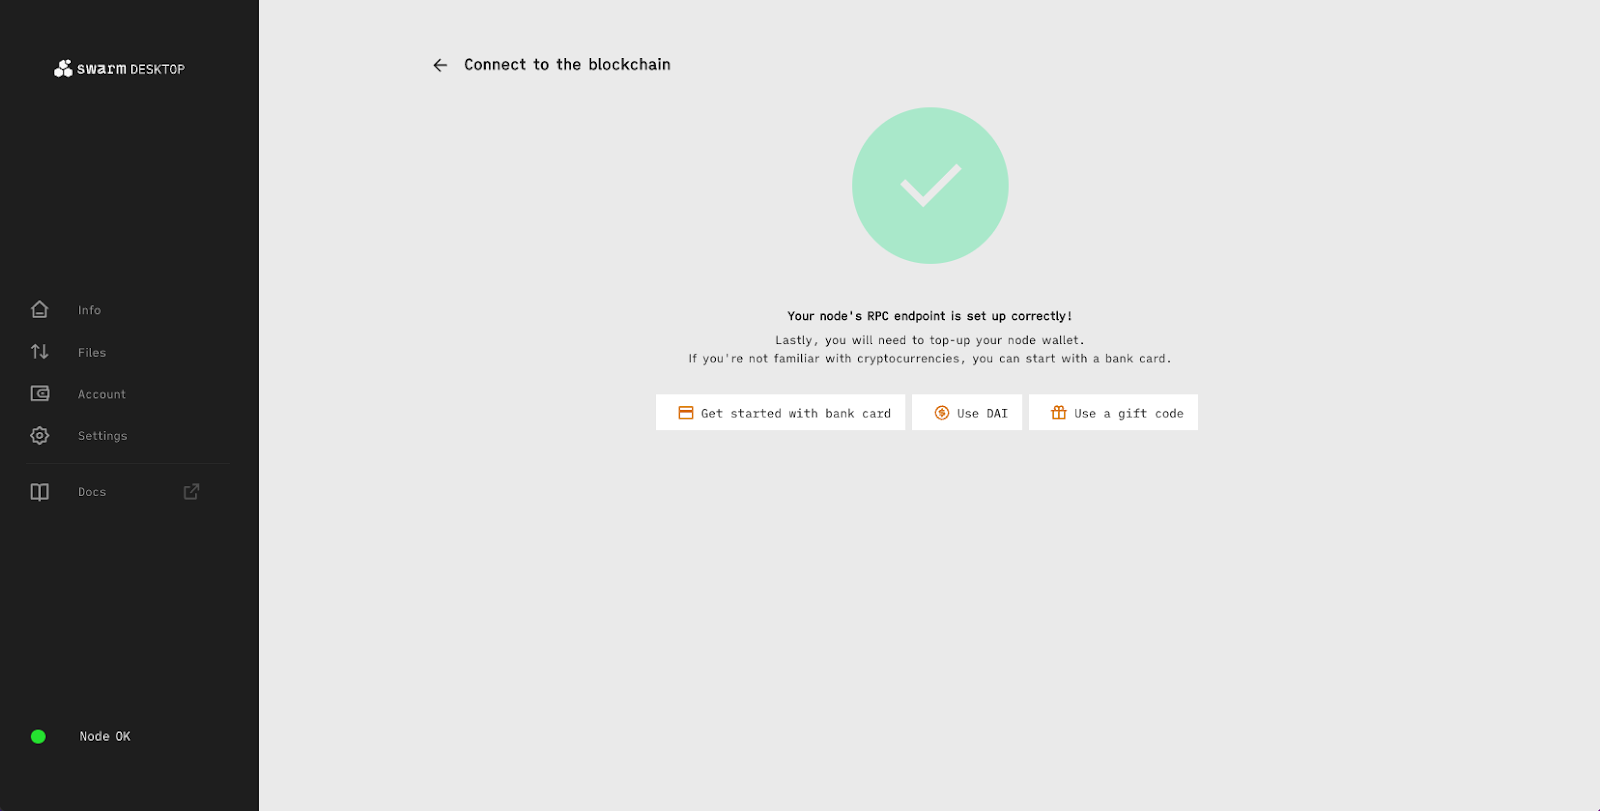
Your node’s RPC endpoint is now set up.
Add funds to your node
Now that your RPC endpoint is set up you need to top up your account with xDAI and BZZ to upgrade your node.
There are three different ways of doing so:
- Top-up with a bank card
- Use DAI (uses your existing crypto)
- Use a gift code
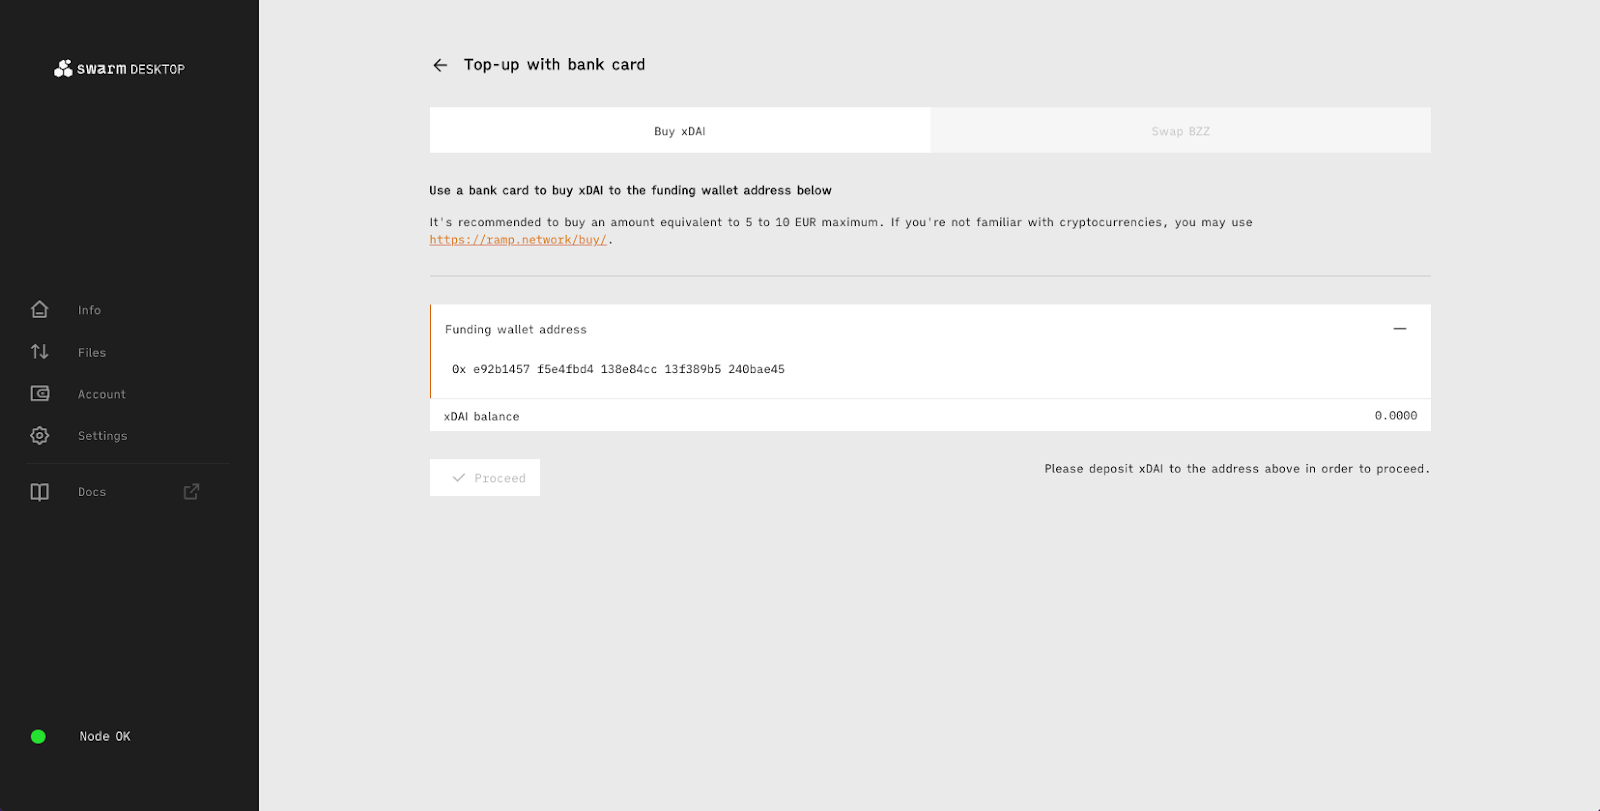
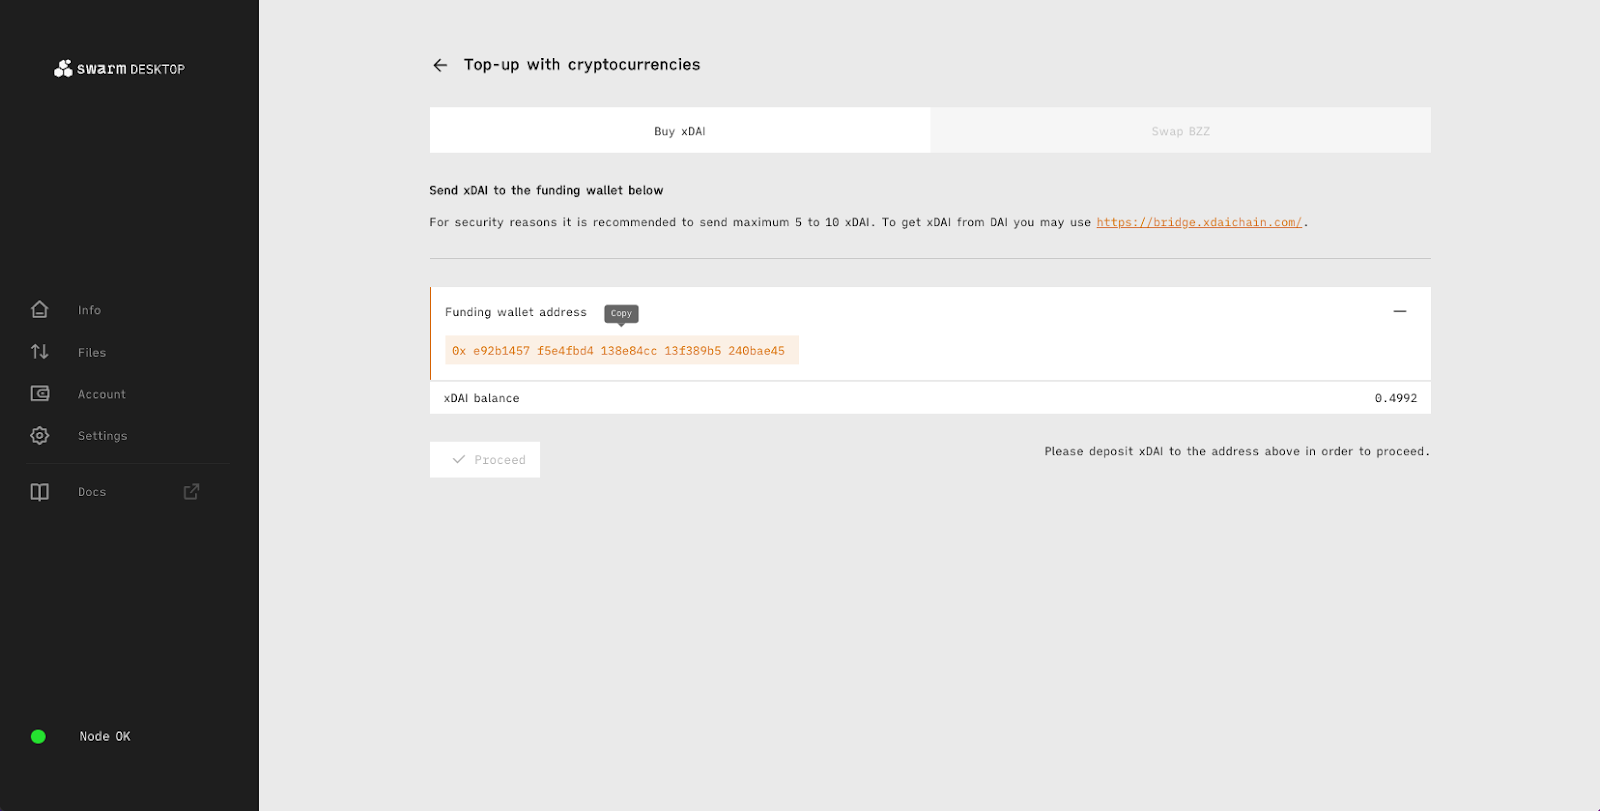
Top-up via Credit Card
If you want to use a credit card to buy xDAI for your node, you can use an external provider like: Ramp or Mt Pelerin
It’s recommended that you buy a maximum of 10 EUR of xDAI.
Once you have xDAI in your wallet you need to send them to your node wallet’s funding address. This can be found under “Account” → “Deposit” → “Use DAI” → “Funding wallet address”. There you can also swap the xDAI for BZZ.
To swap the xDAI first click the “Proceed” button

Choose the desired swapping amount and click the “Swap now” button.
Top-up using your existing crypto (DAI)
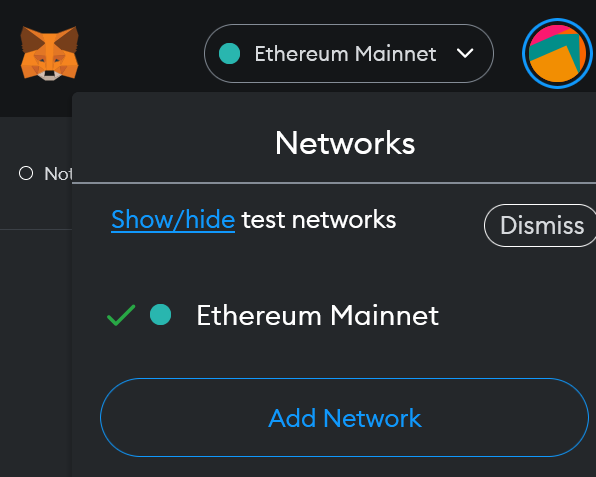
Use your existing DAI or buy them from an exchange and add them to your wallet. When you have DAI in your wallet, add the Gnosis Chain. In this example we’re using Metamask.
Click on the network selection menu in the upper right-hand side corner and choose the “Add Network” option.
Fill the fields with the following information and click “Save”:
Network name: Gnosis
**New RPC URL: **https://rpc.gnosischain.com
Chain ID: 0x64
Symbol: xDai
**Block Explorer URL: **https://blockscout.com/xdai/mainnet
Use the xDAI Bridge to transfer the DAI in your Metamask from the Ethereum network to the Gnosis Chain. It may take a few minutes before they appear. From there you can transfer the xDAI to your node’s wallet funding address.
When you have xDAI in your wallet go back to your node.
Go to the “Info” tab and click “Setup wallet”
Connect to the RPC endpoint.
Choose the “Use DAI” option
Click on the address under the “Funding wallet address” to copy it. Now you have everything to send the funds from your Metamask to your node.
Send only minimal amounts at first to make sure all the addresses are correct and everything works as it should!
Top-up using a gift code
If you have a gift code, you can redeem it to top-up your node:
- Go to the “Info” tab and click “Setup wallet”
- Connect to the RPC endpoint
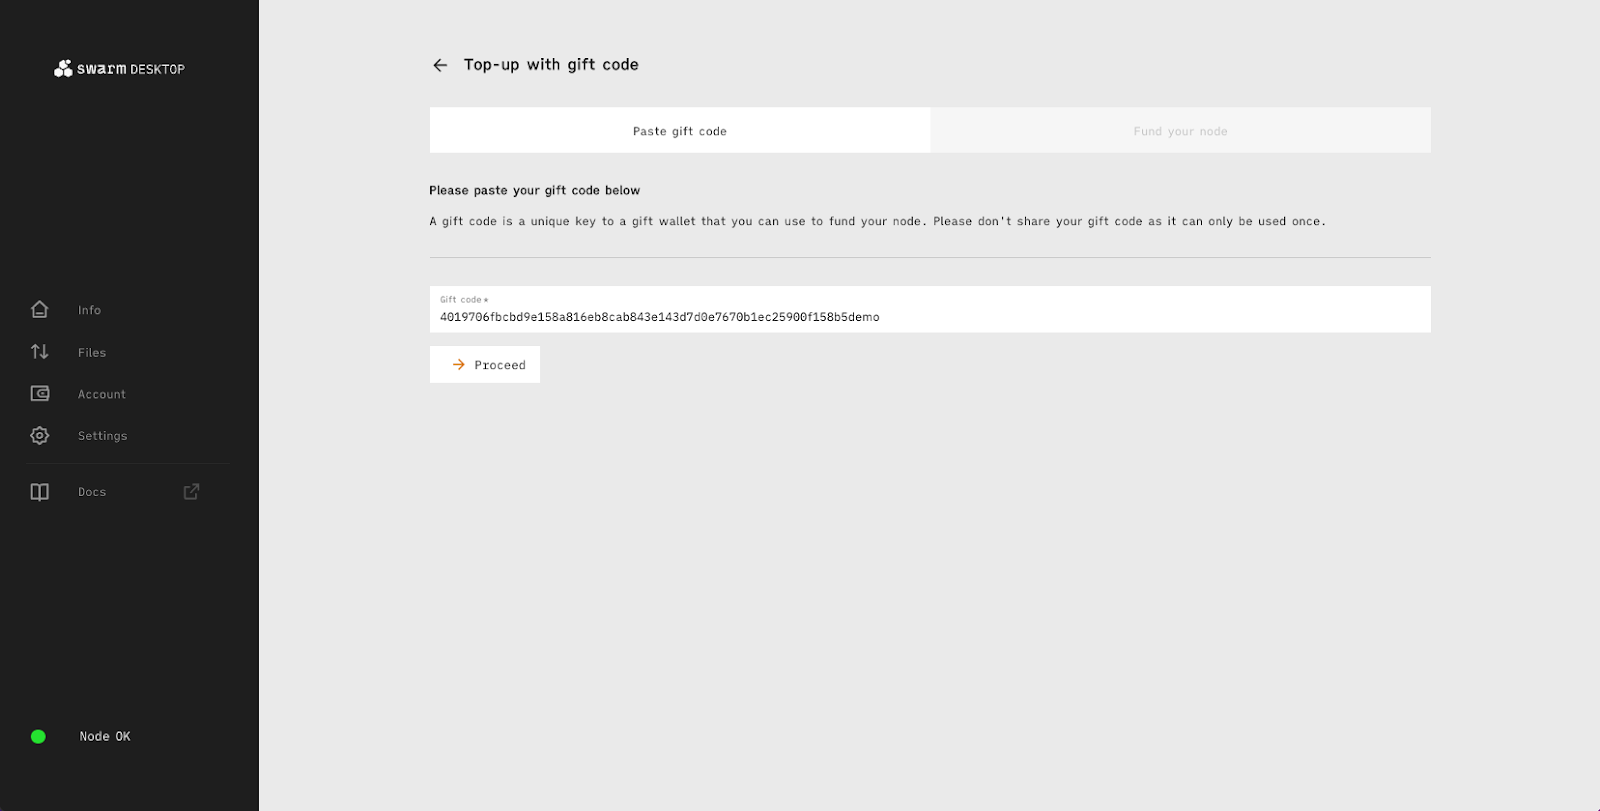
- Choose the “Use a gift code” option
- Enter your gift code and click “Proceed”
- Click “Send all your funds to your node”
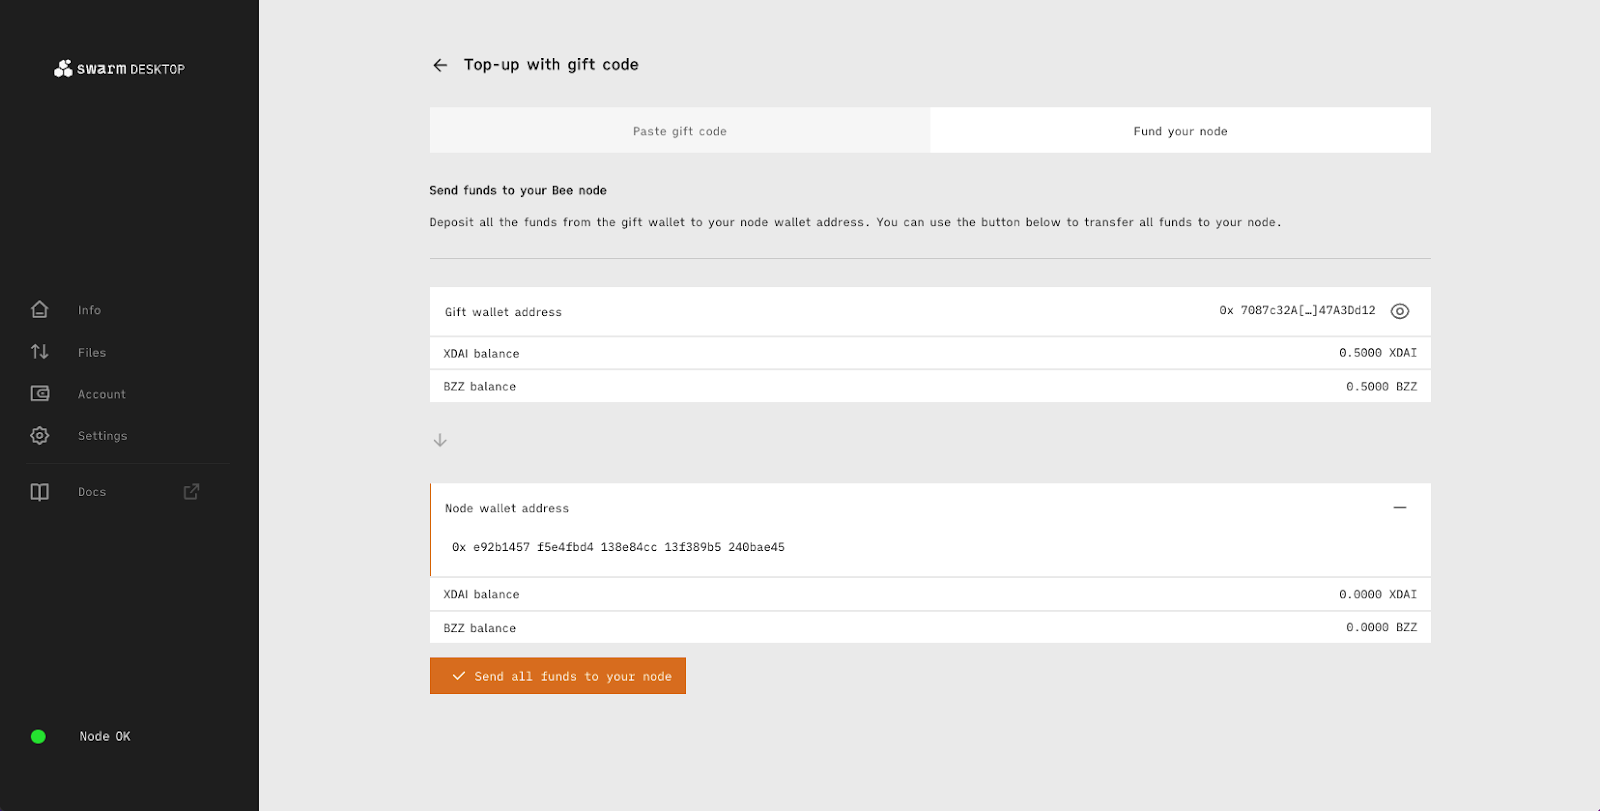
Once your node is funded it will restart automatically.
Restart your node
To update from an ultra light node to a light node you need to restart your node.
You will see a message that your node is restarted and then you have to wait until your node synchronizes the postage stamps with the network. Normally this should not take very long.
When your node is restarted, you can check the Info tab to see if the Mode parameter is set to light. That means that your node is funded and you can buy postage stamps that are required in order to upload data to the network.
Now you are running a light node
Running a light node allows you to:
- Access content on the Swarm network,
- Store data on the Swarm network:
- files
- folders
- websites
- Manage your postage stamps
- Manage your checkbook
- Manage your feeds
Note: Running a bee light node will not earn you any incentives, since your node does not participate in forwarding or storing chunks for other members of the Swarm network. To earn incentives you need to run a full node.
Invite your friend and discover Web3 together
You can invite your friends and send them a gift code.
Go to the “Account” tab → ”Invite to Swarm” → “Generate gift wallet”. This will generate a gift code that will subtract 1 xDAI and 5 BZZ from your node’s wallet. You can now help your friends to upgrade to a light node and freely use the Swarm network.
Discussions about Swarm can be found on Reddit.
All tech support and other channels have moved to Discord!
Please feel free to reach out via info@ethswarm.org
Join the newsletter! .